


December 19, 2012
Wednesday Q&A #3 | 5 Tips to great Silhouettes


ok, so for todays Wednesday Q&A post, i am going to give 5 easy-to-try tips on how to create amazing silhouette images. there has been so many posts about this by other photographers, so i am just going to fill you guys in on the couple things that i do, and if you have any more specific questions feel free to send them my way!
1. use a wide angle lens | when i am taking a silhouette shot, (especially at sunset) i love using a wide angle lens!! most of the time, i will use my 24mm or a fisheye if i have one available to me. the wide angle gives a much better perspective on whats going on in the image, and also creates a more dramatic feel especially if there are clouds or a sunset behind the subjects. i have done a few silhouettes that are a bit closer with a more zoomed lens, but i definetly love the wide angle shots the best!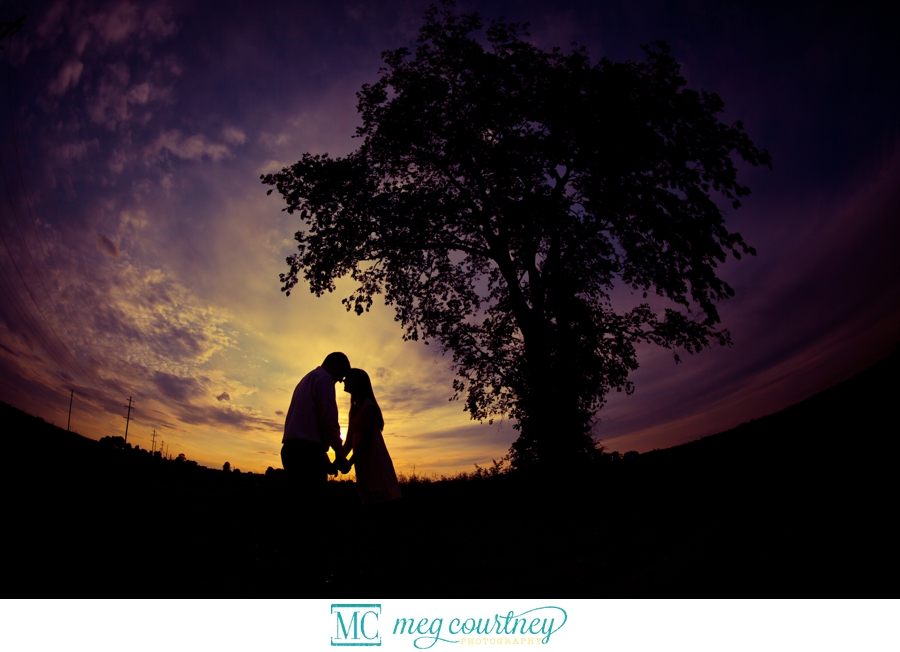 2. shooting from below | very rarely do i shoot from below for a normal photograph, but for silhouettes it is key!! get yourself at an angle where the subject is backlit by your lightsource to create definition and to have the subject pop in the image. these are usually the shots where i am laying on the ground 😉

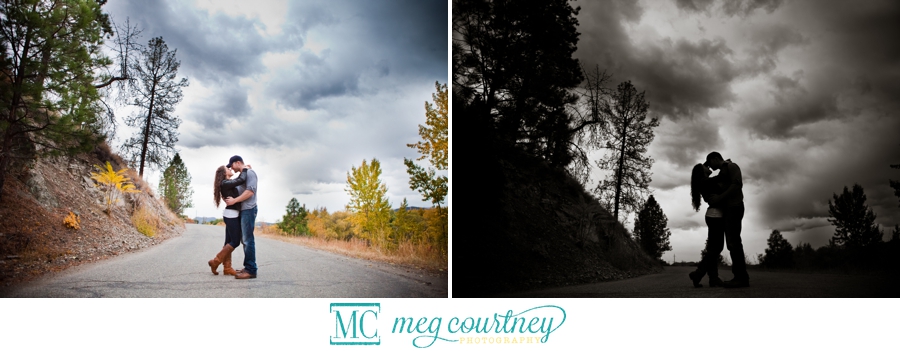
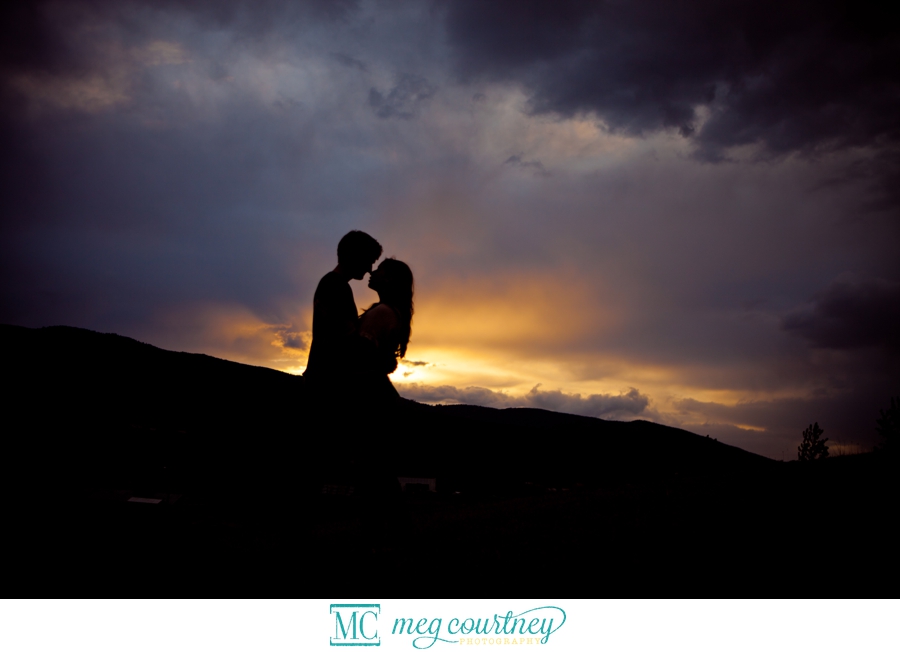
3. exposing for the highlights | if you want to create an image with a silhouette against a sunset, then expose for the sunset, or even under expose a couple of stops for a more dramatic effect. by doing this, you will get so much more detail in the sky and the colors will pop, while blacking out your subject ~ exactly what you want! 🙂 Here is an example of exposing for the subject on the left, and then exposing for the clouds in the sky on the right.
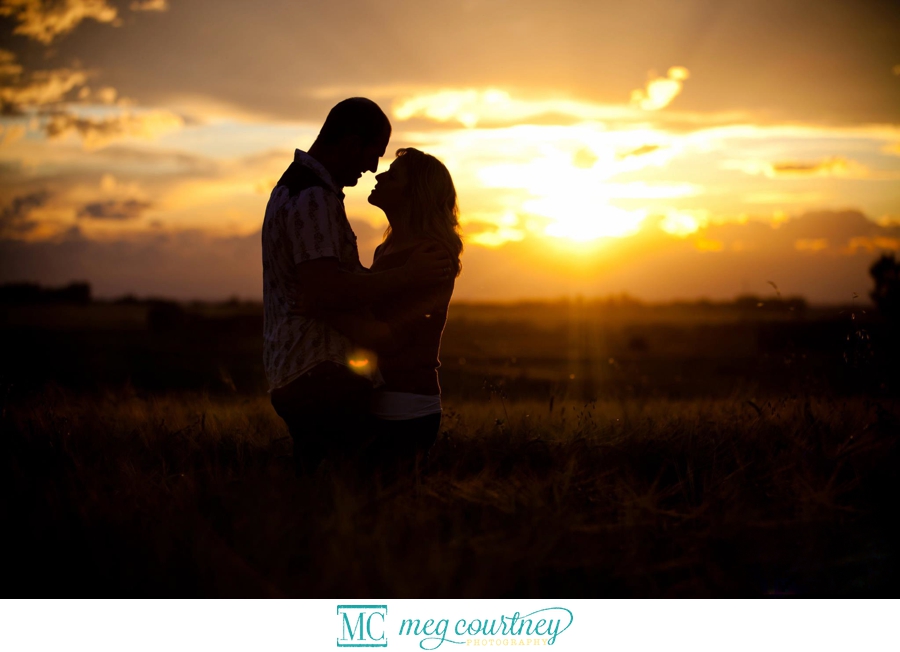
 below you can see that the exposure was set for the orange color in the sky, creating a dynamic effect in the silhouette. this photo would have been even better if it was taken from a lower angle, so there was less distraction between the sky and the subject.
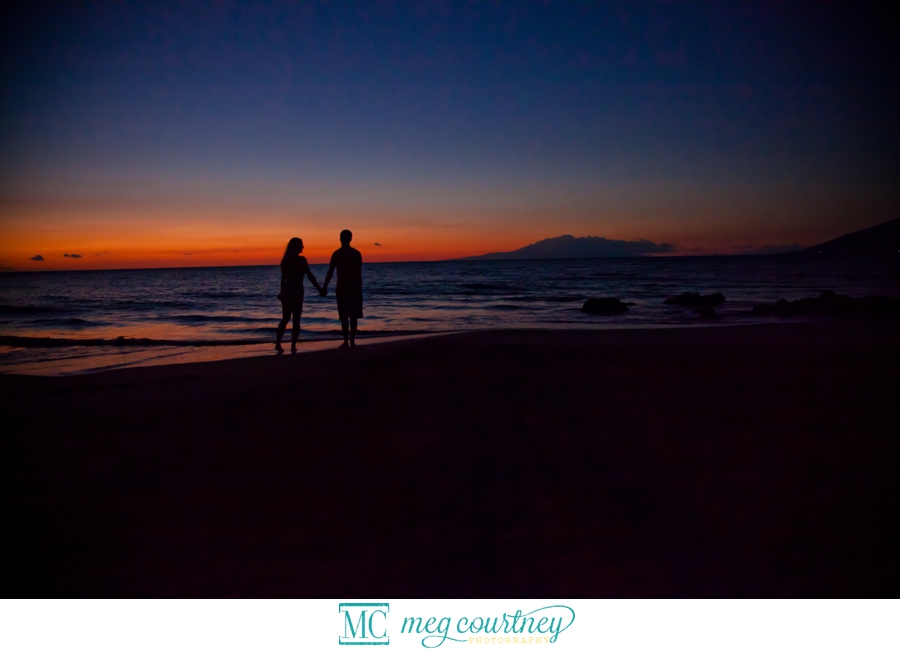
4. composition | place your subjects in a pose that will define their features, so you know who and what they are ;). i like to have the couple either facing eachother so the silhouette will outline their profiles, or walking away holding hands a little further apart then normal. the trick is spacing, do not place your subjects too close or it is difficult for the viewer to figure out what is going on. if you are wanting a romantic and intimate photo, the “almost kissing” pose is my favorite! as soon as the couple actually kisses, it turns into a blob of undefined blackness. when they are just about to kiss, the viewer is able to feel the moment and still identify the subjects.
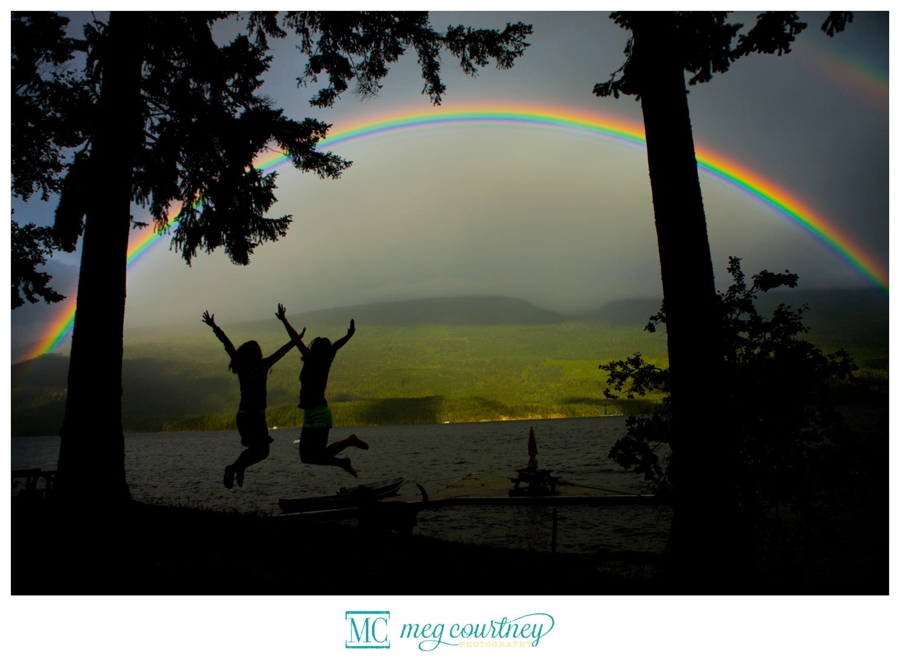
5. background | for silhouettes to work, you must find a location where you can get at an angle for your subjects to stand out infront of your background. usually, and open field, a beach, a road.. something where you can get at whatever angle it needs to be to have your couple or family or whatever you are shooting be backlit and defined against your lightsource that will silhouette them. (shooting from below will also help you achieve this, as in the photo below)
hope that helps all of you who were asking about silhouettes! if you have any more questions feel free to email me, or comment in the comments below and i will do my best to help you out! if this post was what you were looking for, it would make my day for you to click the “like” button below or leave a comment!! thank you so much to everyone who is reading this and we will start the Wedneday Q&A series back up in the new year!!! happy wednesday!
xox

Facebook Comments


Thanks for posting this. Was looking for this info all over the web.
Great opinonsI will give this some thought!!!
This was amazing! Thanks for the tip!
Could you do a shilouette in front of a window using the same tips?
That last photo with the rainbow is something amazing. So great! This is a technique I want to explore more, so I really appreciate your insight. 😉 Thanks.
What ISO are you using for the majority of these shots? 200 or 400? Was curious as to f stop and shutter speed as well. Thanks for the post. Your work is amazing!
Holy cow, girl- that rainbow image is insane!