July 27, 2015
5 easy tips to get great iphone photographs
i am definitely in the instagram obsessed category and always love the challenge of trying to get the best shot i can on my iphone6. i have had so many people email and message me in the last few months asking how i get my iphone shots the way they are shown on my instagram account (to check it out and follow along click here @megcourtney1) that i wanted to share a few easy tips and tricks that i have learned so far to better my iphoneography, selfies and iphone editing techniques!
there are thousands of incredible “iphonographers” out there to inspire you and i definitely still have so much to learn, but hope these tips are easy and helpful for all of you who have been asking! enjoy!
————————–
1. find a natural lightsource to light your subject
instead of shooting into the sun or with your back against a window, try to use these light sources to illuminate your subject. take note of the direction of the light and position yourself or your subject so the light is lighting them instead of being at their backs. this will make skin pop and colors much more vibrant!
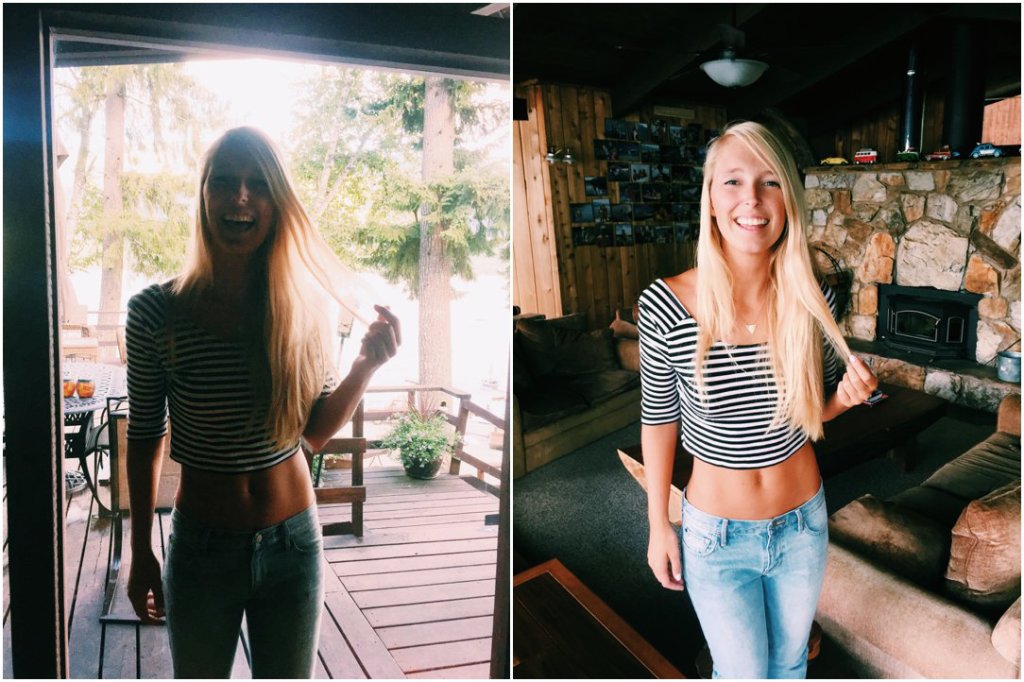
*if the sun is setting and you have that low golden glow, capture that in your photograph by placing the sun just outside of the frame, (if you place it within the frame it will typically be much to bright unless it is VERY low), then you can add a bit of warm temperature and boost the exposure just a little bit while you do a soft edit on your iphone (see last point at the bottom) to get that beautiful sunkissed effect! 
2. Shoot from above or get down low! Use different angles and get a new perspective!
if you are doing a selfie, try holding the phone up higher than you usually would and tilting down, this will get more of your shoulders and the background into the frame so it isn’t a “floating-head” photograph:) also, try cropping the frame so your arm is hidden, it sometimes helps to slightly turn your body to the side if possible. if you have more than one person in your selfie, make sure whoever is holding the phone is standing on the outside so their arm is hidden and there is more dimension! again, hold the phone up high and tilt down to get more of your bodies and background in the photograph, and remember to look at the camera and not the screen!
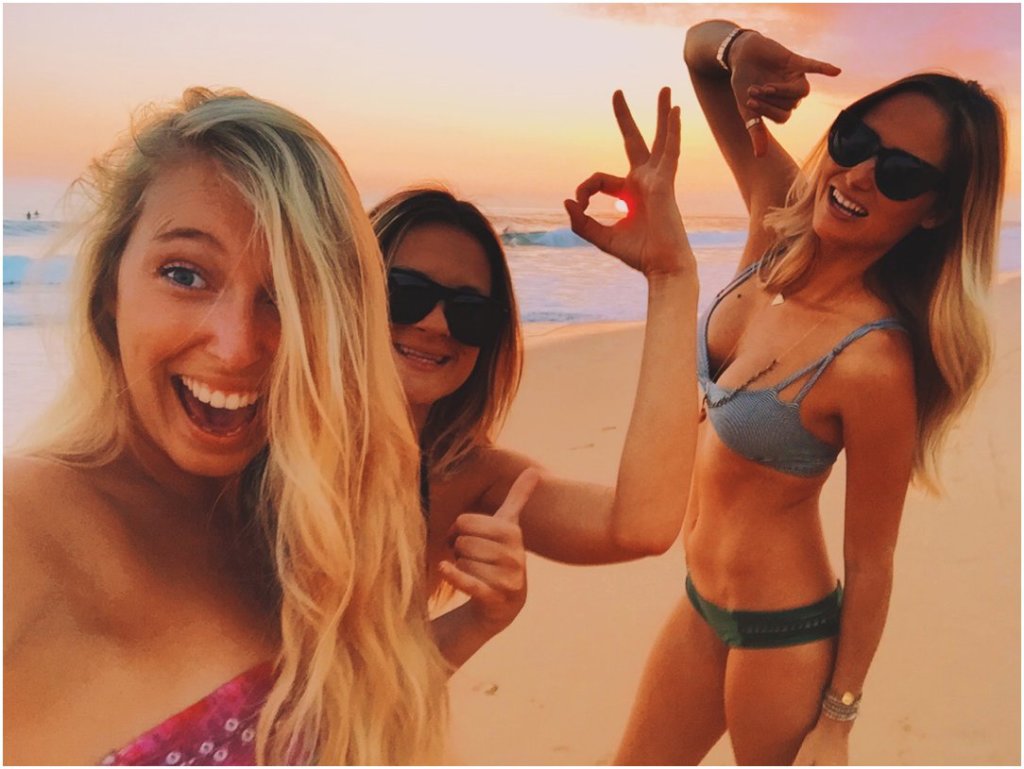
if you are doing a couples selfie, another tip is to have your man hold the camera up high and vertically so you can stand behind to give more depth and dimension to your image! this also works great for group photos!
(see photo on the left is very un-interesting and the angle is not correct for hiding the arm outside of the frame, also holding the camera at eye level isn’t the most flattering – Photos on the right are much more fun and have way more depth:))

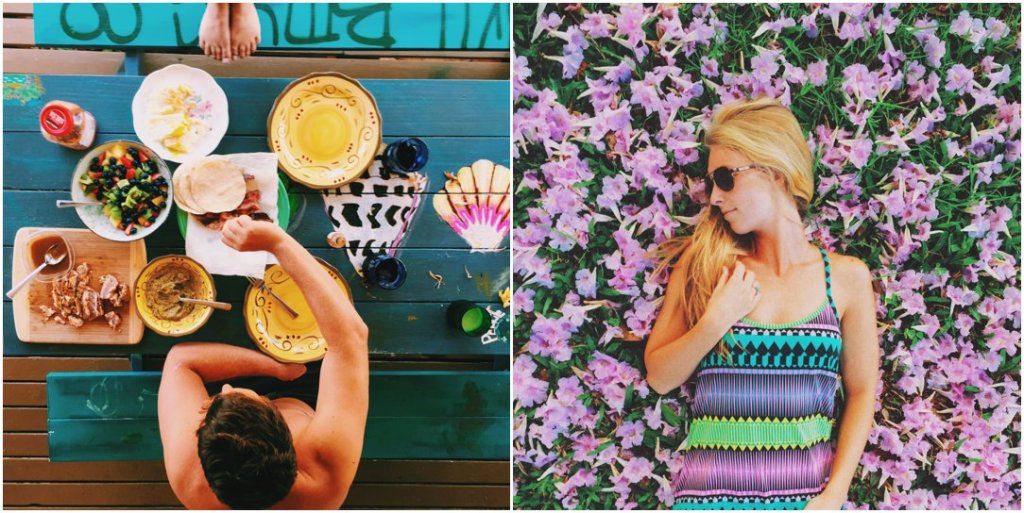
for landscape or lifestyle images, try getting a different angle then what you see with the normal eye. get down low or try and get the perspective from above to make your shots more interesting.

3. touch to focus and control exposure
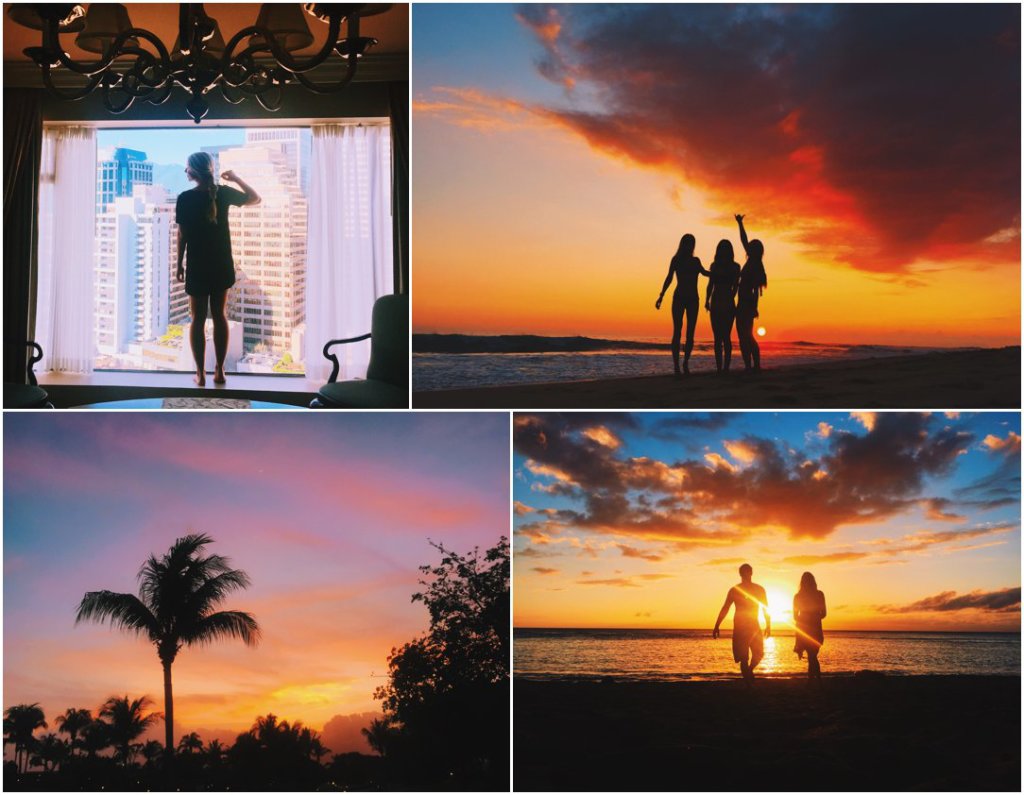
i’m sure lots of you know this already but wherever you touch on the screen within the camera app is where your focus will be and it is also where the exposure will be set. if you are wanting a iphone silhouette or to capture those epic sunset colors, touch the brightest area on your screen to bring exposure down and black out your subjects. if you need more light, click on a darker area on your screen and your iphone will re-expose:)
4. Create shadows and pay attention to your backgrounds
the best photographs have the perfect combination of highlights and shadows. shadows create depth and are especially flattering in portraits. try standing at a 90 degree angle to your lightsource (sun, window etc.) to create that dramatic effect while taking a portrait, whether it is of yourself or someone else!
see the dramatic effect of shadows, as well as the above angle, eyes looking at the camera and the hidden arm:)

i also love the look of solid backgrounds when my focus is on the people in the photograph so i try and look for white or any other kind of solid walls or backgrounds that are less distracting for these types of shots!

5. Edit lightly!! VSCO, Litely, or even instagram editing!
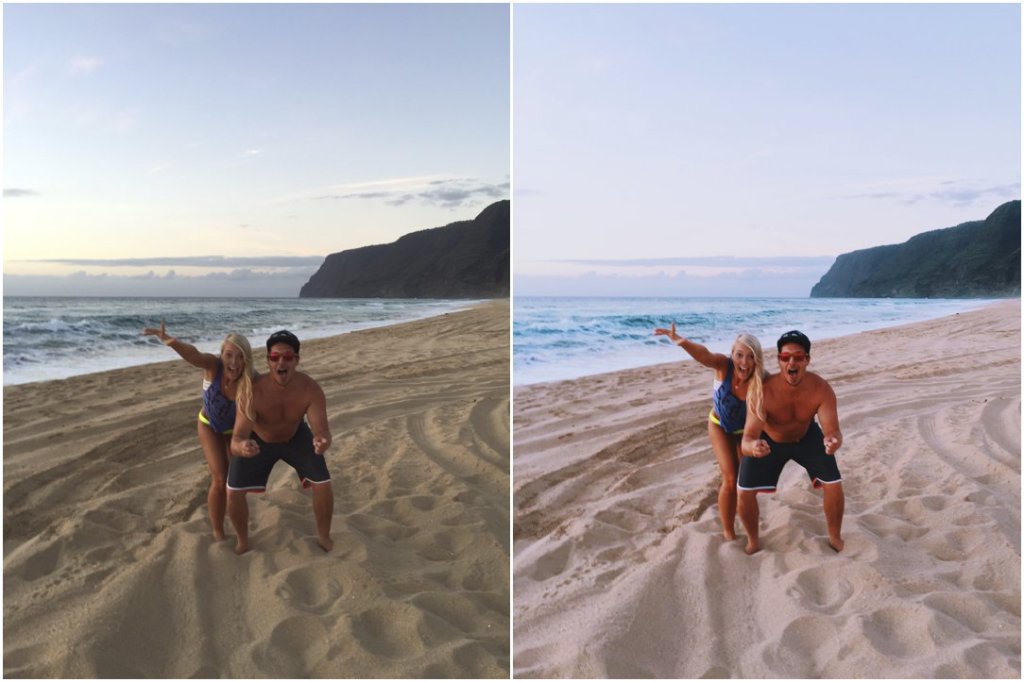
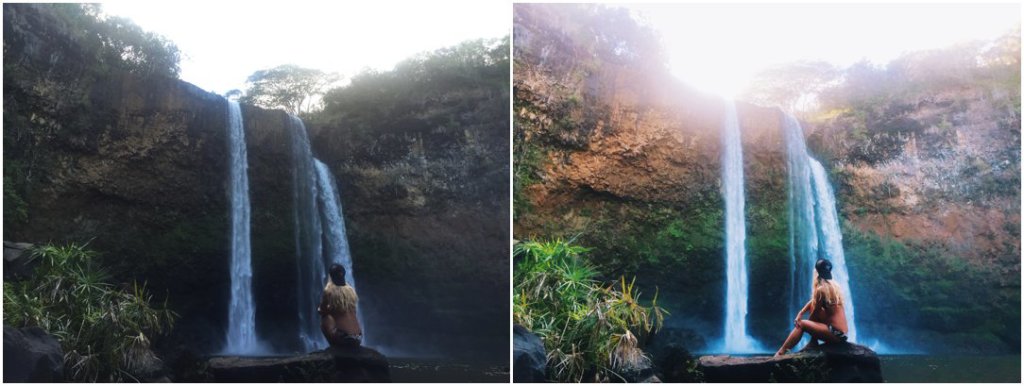
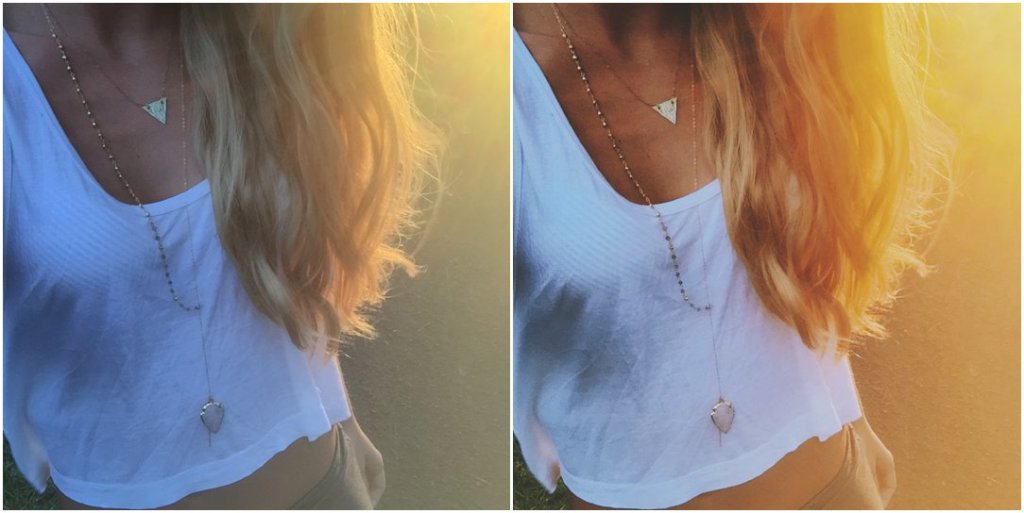
the key to great iphone photos is to not over-edit!! instagram gives all sorts of crazy filter options but the goal should always be to make the photograph look as natural as possible. Skin should be the color of skin and grass should be the same green you see with your eye;) My favorite apps are VSCO cam, Litely or even the tools (and a few select filters) in the new Instagram are all great options for clean natural looking edits.
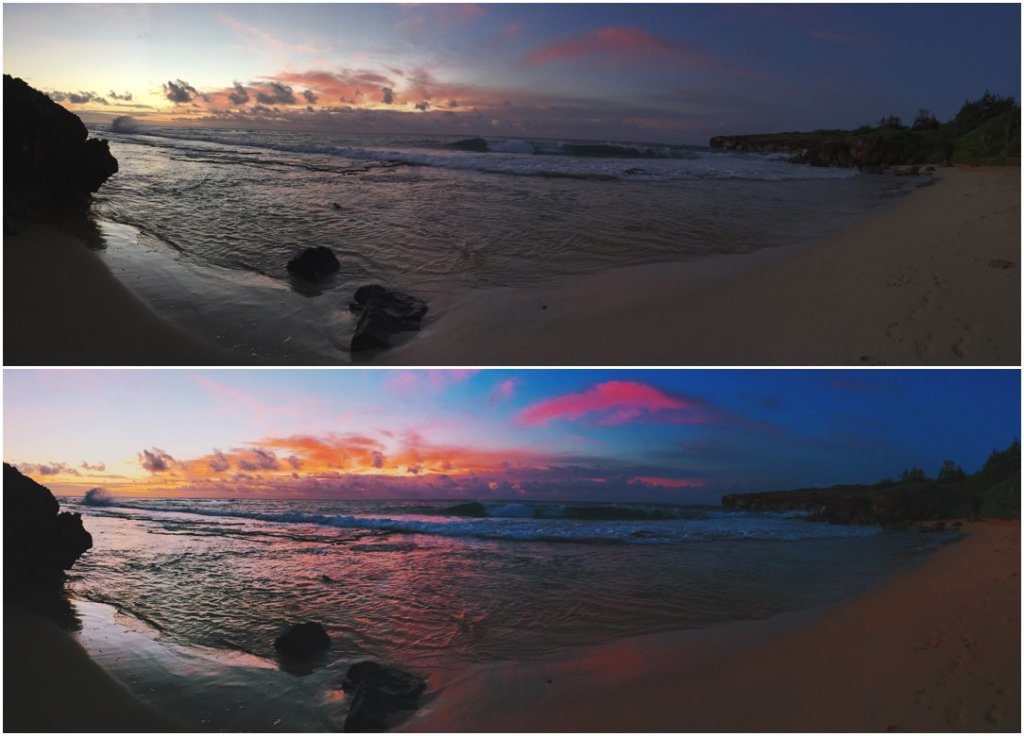
i typically do the following on VSCO for each photograph i take on my phone before positing to my instagram, and a lot of other photo editing apps will allow you to make these small adjustments too!
- increase the exposure a few stops
- straighten out the horizon line
- increase the contrast a few stops
- warm the temperature of the photograph up just a bit
- bring the black fades to +1 or 2
- bring down the highlights 1 or 2 stops to get more detail in the sky or other bright areas of the photograph.
here are a few before and after’s so you can see the difference!

and that’s it!! hope that is helpful, feel free to click the ‘like’ button below or share if you know someone who is as iphone-photo-obsessed as i am, haha!
if you want to check out more of my iphone photos, like i said earlier you can follow me on instagram by clicking here! thanks so much for being here and i hope you have a beautiful day! <3
xx
meg.

Haha! I was scrolling thru your instagram the other day and was like… Seriously, how in the heck do all her photos look so amazing! Thanks for the tips! :p